IceCraft - WebRTC : Livekit 연결하기
Livekit을 선택하게 된 이유?
최종 프로젝트에서 WebRTC기반의 게임을 만들기로 지정함에 따라, 팀원들끼리 기술 스택 결정에 대해 회의를 진행했다.
최종 프로젝트 기간은 한달 가량 주어졌고, 우리 팀은 다른 팀보다 1명이 부족한 4명으로 개발을 진행하기도 했고,
WebRTC를 직접 구현해도 되지만 학습하면서 완성까지 쉽지 않았기 때문에(...)
(Zustand, Socket.io, Express, AWS 등 처음 쓰는 기술을 빠르게 습득해서 최종프로젝트까지 구현을 했어야 했음...ㅠㅠ)
결론은 회의를 거쳐 라이브킷은 Next.js 13버전 이상의 라이브러리를 지원한다는 점,
여러가지 hook을 지원한다는 점,
복잡한 설정 없이 WebRTC기능을 신속하게 구현할 수 있다는 장점이 있어서 사용하게 되었다.
다들 처음 접하는 기술들을 습득하기로 해서 팀원들이 멘탈이 나간걸 보아
그 중 내가 빠르게 라이브킷을 공부하고, 적용해서 보여줘야 팀원들이 걱정을 덜고
앞으로 프로젝트 완성까지 힘내서 진행할 수 있을 것 같아 빠르게 연결해서 구현해보기로 했다 ✨
라이브킷
LiveKit
Build and scale voice and video applications for conversational AI, robotics, and livestreaming.
livekit.io
라이브킷은 지금 우리가 공부하고있는 Zep에서도 쓰고 있다고 한다ㅎㅎ
무료버전으로도 충분히 우리 마피아 게임이 잘 돌아갈 수 있고,
Docs에도 사용방법이 자세하게 나와있어서 Docs를 보면서 어떤 훅을 지원하고 있는지,
Docs를 보면서 빠르게 구현할 수 있다는 점이 좋았다.
이제 사용방법을 알아보자!
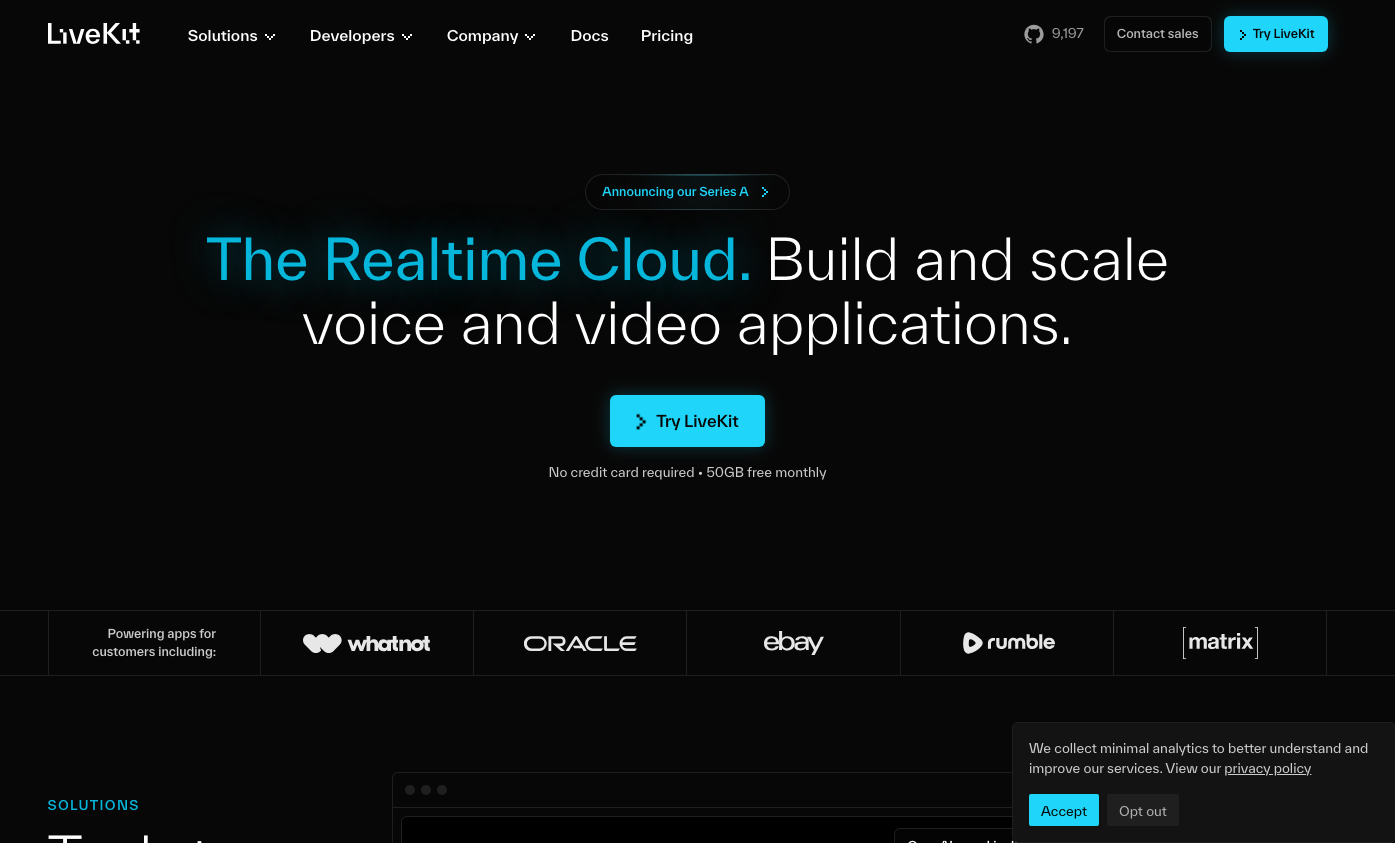
상단 오른쪽에 있는 TryLivekit를 클릭하여 회원가입을 해준다.
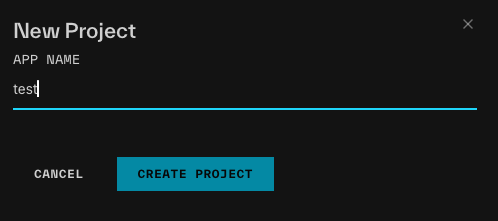
new Project를 클릭해서 App Name을 적고,
create Project 버튼을 클릭해준다.
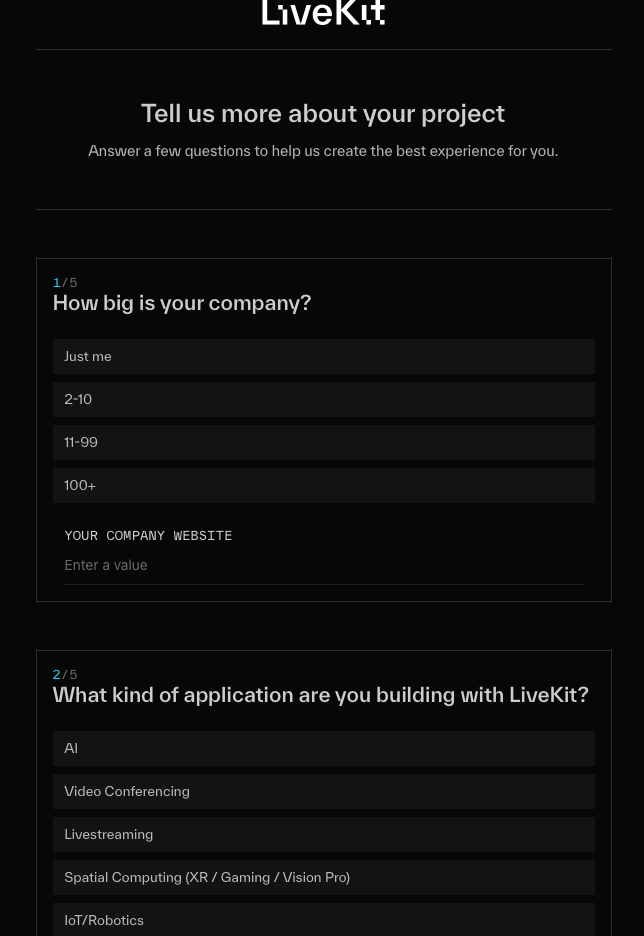
그러면 길게 설문조사 하는 내용들이 나오는데
설문조사를 해주고 다음으로 넘어간다.
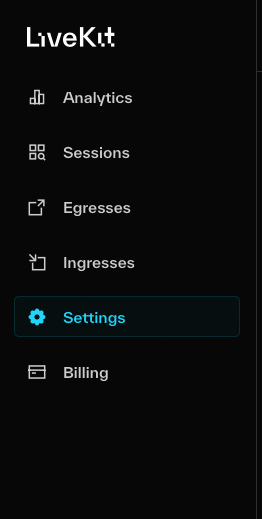
왼쪽에 Settings를 클릭을 해보면
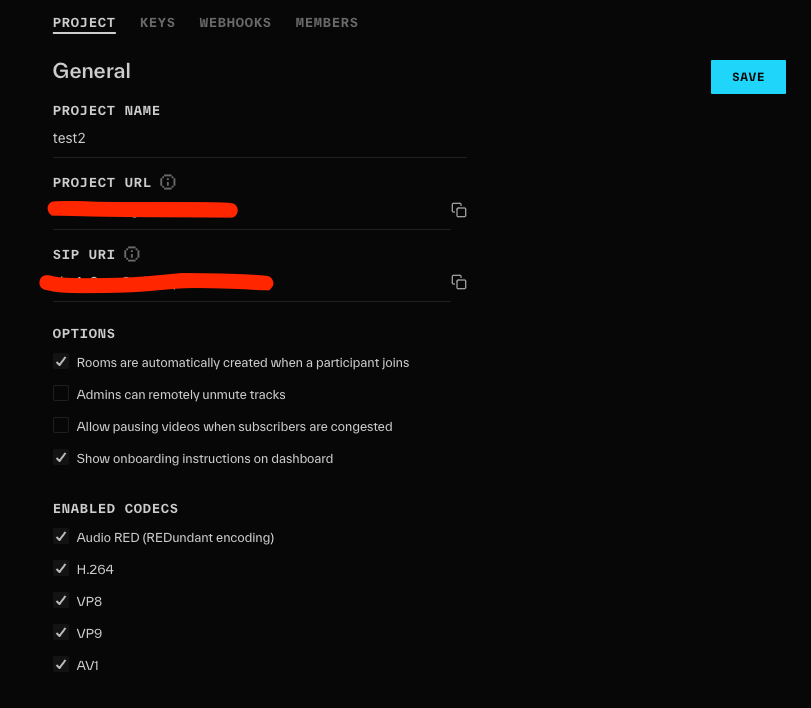
이렇게 프로젝트 URL과 Key를 확인할 수 있다.
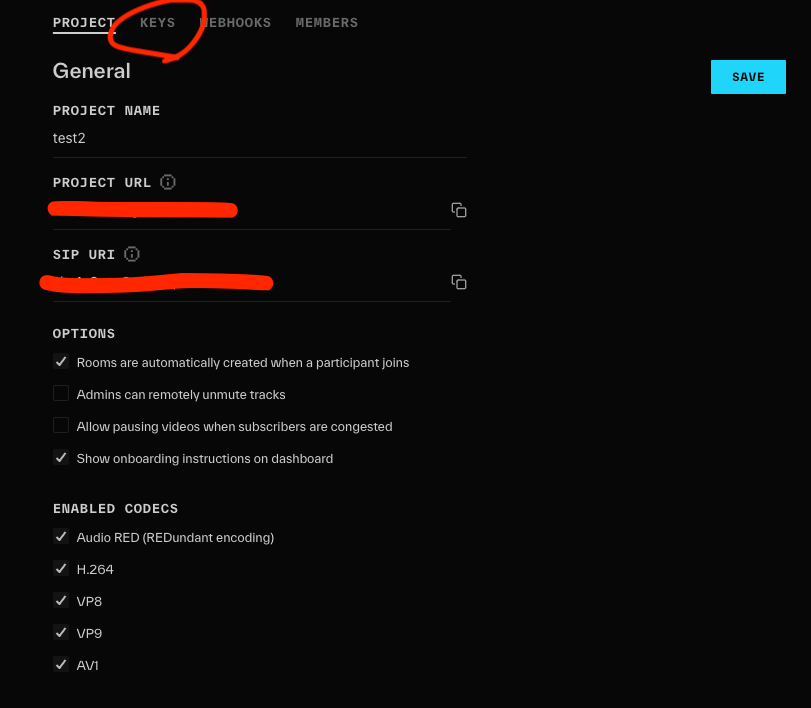
여기서 상단 위에 있는 Key로 이동해준다.
앞으로 우리가 사용할 Key들이 여기에 있다.

이렇게 키 리스트 3개를 전부 적용할 프로젝트에 넣어준다.
key는 보이면 안되니 .env파일에 넣어주었다.
준비 완료! 이제 프로젝트에 직접 구현해보자
프로젝트에 livekit 라이브러리를 설치해준다.
npm install livekit-server-sdk @livekit/components-react @livekit/components-styles --save
yarn add livekit-server-sdk @livekit/components-react @livekit/components-styles
그리고 .env 파일에 해당 key들을 넣어준다.
LIVEKIT_API_KEY="API Key키"
LIVEKIT_API_SECRET="API Secret키"
NEXT_PUBLIC_LIVEKIT_URL="url키"
token을 발급해주는 컴포넌트를 만들어준다.
import { AccessToken } from "livekit-server-sdk";
import { NextApiRequest, NextApiResponse } from "next";

export default async function handler(req: NextApiRequest, res: NextApiResponse) {
  const room = req.query.room as string;
  const username = req.query.username as string;
  if (req.method !== "GET") {
    return res.status(400).json({ error: "Invalid method" });
  } else if (!room) {
    return res.status(400).json({ error: 'Missing "room" query parameter' });
  } else if (!username) {
    return res.status(400).json({ error: 'Missing "username" query parameter' });
  }

  const apiKey = process.env.LIVEKIT_API_KEY;
  const apiSecret = process.env.LIVEKIT_API_SECRET;
  const wsUrl = process.env.NEXT_PUBLIC_LIVEKIT_URL;

  if (!apiKey || !apiSecret || !wsUrl) {
    return res.status(500).json({ error: "Server misconfigured" });
  }

  const at = new AccessToken(apiKey, apiSecret, { identity: username });

  at.addGrant({ room, roomJoin: true, canPublish: true, canSubscribe: true });
  res.status(200).json({ token: await at.toJwt() });
}
그리고 페이지를 새로 생성해서 라이브킷 라이브러리를 가져오고, 만들어준다.
'use client';

import '@livekit/components-styles';
import {
  LiveKitRoom,
  VideoConference,
  GridLayout,
  ParticipantTile,
  RoomAudioRenderer,
  ControlBar,
  useTracks,
} from '@livekit/components-react';
import { Track } from 'livekit-client';
import { useEffect, useState } from 'react';
import { useSearchParams } from 'next/navigation';

export default function Page() {
  const params = useSearchParams();

  useEffect(() => {
    const room = params.get('room');
    const name = params.get('name');
  }, [params]);

  // TODO: get user input for room and name
  const [room, setRoom] = useState<string>();
  const [name, setName] = useState<string>();

  const [token, setToken] = useState('');

  // useEffect(() => {
  //   (async () => {
  //     if (!room || !name) {
  //       return;
  //     }
  //     try {
  //       const resp = await fetch(
  //         `/api/get-participant-token?room=${room}&username=${name}`
  //       );
  //       const data = await resp.json();
  //       setToken(data.token);
  //     } catch (e) {
  //       console.error(e);
  //     }
  //   })();
  // }, []);

  async function getToken() {
    if (!room || !name) {
      return;
    }
    try {
      const resp = await fetch(
        `/api/get-participant-token?room=${room}&username=${name}`
      );
      const data = await resp.json();
      setToken(data.token);
    } catch (e) {
      console.error(e);
    }
  }

  if (token === '') {
    return (
      <form
        onSubmit={(e) => {
          e.preventDefault();
          getToken();
        }}
        className="flex flex-col justify-center item-center min-h-screen"
      >
        <input
          type="text"
          placeholder="Room"
          value={room}
          className="mb-4"
          onChange={(e) => setRoom(e.target.value)}
        />
        <input
          type="text"
          placeholder="Name"
          value={name}
          className="mb-4"
          onChange={(e) => setName(e.target.value)}
        />
        <button type="submit">Join</button>
      </form>
    );
  }

  return (
    <LiveKitRoom
      video={true}
      audio={true}
      token={token}
      serverUrl={process.env.NEXT_PUBLIC_LIVEKIT_URL}
      onDisconnected={() => setToken('')}
      // Use the default LiveKit theme for nice styles.
      data-lk-theme="default"
      style={{ height: '100dvh' }}
    >
      {/* Your custom component with basic video conferencing functionality. */}
      <MyVideoConference />
      {/* The RoomAudioRenderer takes care of room-wide audio for you. */}
      <RoomAudioRenderer />
      {/* Controls for the user to start/stop audio, video, and screen
      share tracks and to leave the room. */}
      <ControlBar />
    </LiveKitRoom>
  );
}

function MyVideoConference() {
  // `useTracks` returns all camera and screen share tracks. If a user
  // joins without a published camera track, a placeholder track is returned.
  const tracks = useTracks(
    [
      { source: Track.Source.Camera, withPlaceholder: true },
      { source: Track.Source.ScreenShare, withPlaceholder: false },
    ],
    { onlySubscribed: false }
  );
  return (
    <GridLayout
      tracks={tracks}
      style={{ height: 'calc(100vh - var(--lk-control-bar-height))' }}
    >
      {/* The GridLayout accepts zero or one child. The child is used
      as a template to render all passed in tracks. */}
      <ParticipantTile />
    </GridLayout>
  );
}
room페이지를 생성해주고 테스트차 확인해보니 쉽고 빠르게 구현했다.
코드는 라이브킷 Docs에 나와있는 테스트 코드를 가져왔고,
여기서 이제 이 큰 틀을 가지고 앞으로 우리의 마피아 게임 페이지를 구현해 보려고 한다.
다들 라이브킷 연결하는 방법에 대해 고전하고 있을 때,
먼저 구현하고 팀원들에게 보여주니 다들 기뻐해서 기분이 좋았다😁
완성한 브랜치
GitHub - ice-craft/test-livekit
Contribute to ice-craft/test-livekit development by creating an account on GitHub.
github.com
참고한 링크
GitHub - livekit-examples/meet: Open source video conferencing app built on LiveKit Components, LiveKit Cloud, and Next.js.
Open source video conferencing app built on LiveKit Components, LiveKit Cloud, and Next.js. - livekit-examples/meet
github.com